
This homemade redcurrant jelly is deliciously sweet with just a hint of tart and bitter. Perfect eaten as a sweet or savoury condiment.
Estimated reading time: 5 minutes

Redcurrant Jam Recipe
Redcurrant jam is very easy to make at home. It’s just a simple matter of adding the fruit, sugar and a little lemon juice to a pan and cooking it. That’s all there is to it.
As redcurrants are high in pectin, you don’t need to add any extra, unless you are looking for a thick jelly-like consistency. A little lemon juice is all that’s needed for a tiny boost in this department, as well as giving a vibrant red colour.
Let’s take a look at the ingredients needed.
Redcurrant Jam Ingredients
Redcurrants
That’s rather obvious, isn’t it? If you’re reading this in the summer, and there are lots of fresh redcurrants to be picked (or bought), then that’s the way to go. That’s probably why you’re reading this article in the first place, maybe!
However, if you’re reading this out of season, you’ll be pleased to know that you can also use frozen redcurrants to make redcurrant jelly. The work perfectly fine and make no difference in flavour and result.
You could, if you wanted, change it up slightly by adding other fruit, like strawberries, blackberries, or raspberries, à la Mrs Beeton.
White Sugar
You definitely want white sugar in this jam, as brown sugar will just muddy up the flavour, and the colour, literally, in the latter.
It doesn’t matter if it’s caster or granulated, it’s all going to dissolve.
Water
We add just a little water to our fruit , which makes up the liquid content of our jam, along with the lemon juice, below. We use just enough, to allow it to bond with the sugar and make way for the naturally occurring pectin in the redcurrants to do its thing.
Lemon Juice
I always add some sort of fresh acid to my jams and chutneys to ensure there is a good amount of acidity. This aids the preservation and also adds a little more pectin to our redcurrant jam.
As I don’t use commercially produced pectin when making jams, I tend to rely on a combination of what’s in the fruit itself and whatever acid I’m using, in this instance, lemon juice.
I always start out with 2 tablespoons of lemon juice for roughly every 500g (1.1 lb) of high acid fruit, like today’s redcurrant jam. A lot of jam making is about tasting it as you go along. So if you want more sugar, more lemon juice, adjust accordingly, at the start of your cooking time. This is so, as mentioned above, the liquid and sugar can go off and do their thing, leaving the pectin to work its magic.
What about Pectin?
All my homemade jams tend to have a soft set. Mainly because I prefer them like that, and because I don’t use added pectin when making jams, as mentioned above.

How to use Redcurrant Jam or Jelly?
As mentioned right at the start, redcurrant jam can be used for sweet and savoury purposes. I use it:
- as a spread with bread, scones, croissants, etc.
- for flavouring porridge (not Asian style) whether that’s oats or chia
- with ice cream
- to fill cookies
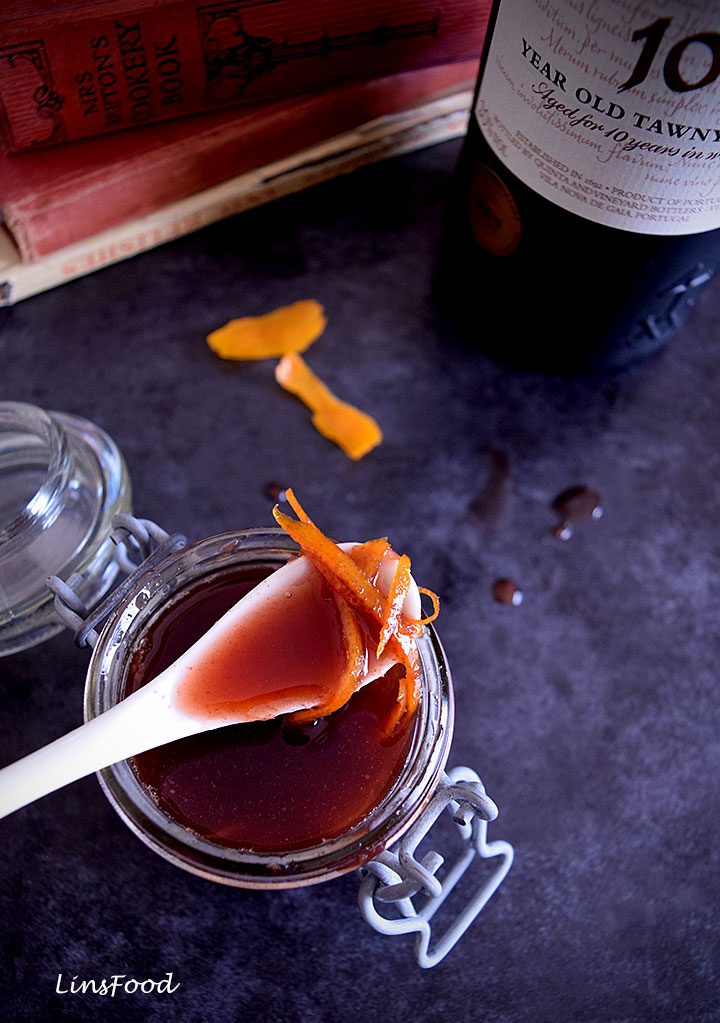
- in making Cumberland Sauce, a must-have table sauce during the holiday period (see below)
And on that note, shall we get our aprons on?
If you like the recipe, don’t forget to leave me a comment and that all important, 5-star rating! Thank you!
And if you make the recipe, share it on any platform and tag me @azlinbloor, and hashtag it #linsfood
Lin xx
More Condiments on LinsFood


Homemade Redcurrant Jam (aka Redcurrant Jelly)
Equipment
- small saucer
- ladle
- 1 medium saucepan
- 2 small sterilised jars – about 250 ml/1 cup capacity each
- a small heatproof sieve that will sit on the jar comfortably
- potato masher (optional)
Ingredients
- 1 kg fresh or frozen redcurrants
- 60 ml water
- 4-6 Tbsp fresh lemon juice
- 200-300 g white sugar
Instructions
- Place a small saucer in the freezer, for testing the set later.
- Rinse the redcurrants and pick them off the stems. Place them in a medium-sized saucepan with 200g (7 oz) of the sugar.
- Add the water and lemon juice and bring to a rolling boil. Stir to mix and to break the fruit down, if you like.
- Lower the heat down to medium and leave it boiling for 5 minutes.Taste your jam for sweetness and acidity. Add more sugar and lemon juice if you thinks it needs it. Now, bring back to a boil and continue boiling at medium heat for 10 more minutes.
Check the Set of your Jam
- Drop a tiny amount of the jam on your cold saucer (take it out of the freezer). Leave it untouched for a minute. Then gently nudge the jam. If it resists and looks jelly like, your redcurrant jam is done. If not, keep your jam on the stove and check again after 1 minute until you are happy.Return the saucer to the freezer for the next try.
- When the jam is done, take it off the heat and leave to cool for 5 minutes. Then strain it through the sieve, straight into your sterilised jar. Squash as much of the fruit through the sieve as you can, to get all the flavours.If you want your jam seeded, then don't bother to strain it.
- When done, cover the jar with the sterilised lid, leave to cool at room temperature, then place somewhere cool and dark. Your kitchen cabinet will be fine. It will keep for 6 months.
- Once open, store in the fridge and it will be good for 2-3 weeks.


I live in the US where currants are very rare, having been outlawed federally for 60 years and legal in few states even now, another 60 years later. After making syrup from a 120 yo bush a local lady’s grandmother planted, I was determined to grow my own. To give you an idea of my commitment, It took 2 years to find plants so we bought 4 varieties and all are thriving, though the reds get the most sun and produce the most. We’ve combed the internet not only for recipes, but explanations – why vodka in some? why lemon in others? How long should it take to set up ( even in that cold saucer)? YOUR recipe is the first and only one we’ve found that explained the basics, so a huge THANK YOU for that. Now we can not only easily make these two things but confidently make adaptations and experiment on our own.
6 years after planting, our early reds are having an especially good year and ripening now. We picked 3 pounds this week, and made half into jam and the other half into syrup.
Full disclosure, we did not use your recipe this time, because we found it only after making jelly and syrup from two other recipes. We made Martha Stewart’s very similar (yet uncharacteristically sloppy) jelly recipe and a made up syrup recipe because all the ones we found varied. That said, I would urge everyone considering this recipe to look no further. I know enough about the process now to know that not only is this one perfect, but it’s also the only one that gives you the why’s, which cuts out a lot of uncertainty and frustration. I wish we’d found it first.
Thank you for taking the time to leave this wonderful comment.
Hi, just to say this a very good recipe, I have made it twice now with frozen berries and both came out lovely. Thank you, I’m sure to use this recipe again
That’s awesome, I’m pleased to hear it. Thanks for letting me know.
Best recipe ever…
Wow I made lots of jams before this was my first attempt at Redcurrant… Living in Nova Scotia there’s always fresh berries to be found I converted it to cups to make it easier
Awesome Recipe
I only used 2 cups of sugar + I added some grated lemon zest. It made 6 -4oz jars
Thank you so much and I am looking forward to trying some more of your recipes
Jo-Anne
Hi Jo-Anne, I’m so pleased to hear that! Lucky you with the fresh berries. Redcurrants are pretty costly here, even at pick your own farms.
My grandma has a recurrent plant in her garden, so I was able to use some fresh ones! Very delicious! Will definitely make it again!
This was very good, cheers. Easier than I thought.
I’m pleased to hear that.